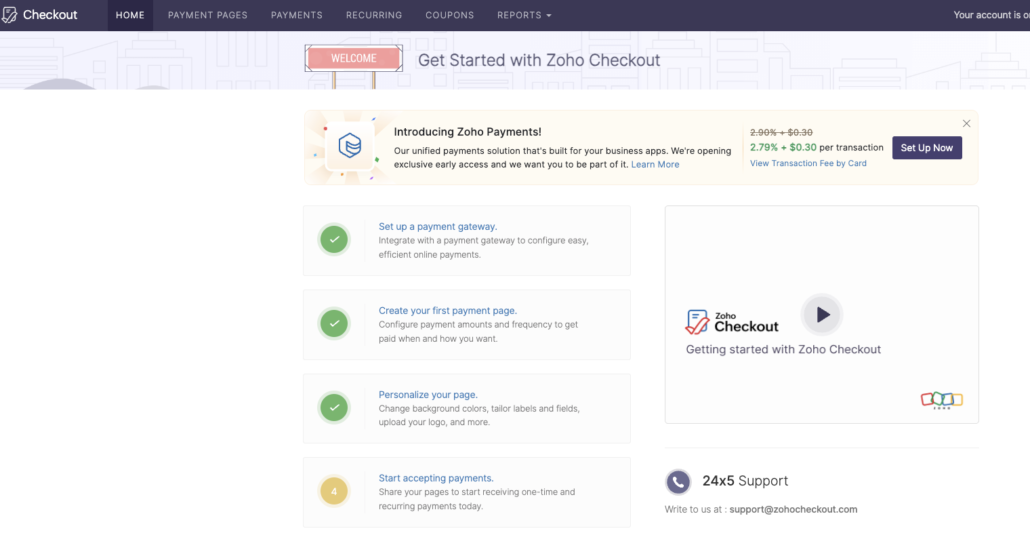
Small online businesses require efficient and reliable payment processing solutions. Zoho introduced Zoho Checkout, one such tool that offers a seamless and secure way to handle online payments.

In this post, I will explore Zoho Checkout’s features, functionalities, setup process, use cases, and competitors, providing a thorough understanding of its benefits and limitations.
Zoho Checkout Features and Functionalities
Zoho Checkout is designed to simplify online payment collection for businesses of all sizes. Here are some of its key features and functionalities:
1. Customizable Payment Pages:
– Create branded, secure payment pages without any coding.
– Customize the look and feel to match your brand identity.
2. Recurring Payments:
– Set up subscription models for recurring billing. Please remember the terms and conditions of your subscription model. It should be added to the payment page.
– Automate payment collection for ongoing services.
3. Multiple Payment Gateways:
– Integrate with popular payment gateways like Stripe, PayPal, and Authorize.Net.
– Offer customers various payment options to enhance convenience.
4. PCI Compliance:
– Ensure secure transactions with PCI DSS compliance.
– Protect sensitive customer information with robust security measures.
5. Detailed Analytics:
- Access comprehensive reports and analytics.
- Track payment statuses, revenue trends, and customer insights.
6. Email Notifications:
- Send automated email receipts and notifications.
- Keep customers informed about their payment status.
7. Integrations
- send your data directly to Zoho Cliq ( free)
- integrate with Mailchimp, Zoho Campaigns, Slack
8. Taxes and Invoicing
- you can add any sales or value-added taxes (VAT) to the payment
- if you use Zoho Books, the invoices are added automatically to your Zoho Books account with the correct numbering

Setting up Zoho Checkout is straightforward and user-friendly. Here’s a step-by-step guide:
1. Sign Up and Login:
- Visit the Zoho Checkout website and sign up for an account, or use your Zoho account.
- Log in to your account to access the dashboard.
2. Create a Payment Page:
- Navigate to the “Payment Pages” section and click “Create New.”
- Choose a template or start from scratch to design your payment page.
- Customize the fields, colors, and branding elements.
3. Configure Payment Gateway:
- Go to the “Settings” section and select “Payment Gateways.”
- Choose your preferred gateway (e.g., Stripe, PayPal) and enter the required credentials.
- Test the integration to ensure it’s working correctly.
4. Set Up Recurring Payments:
- Go to the “Recurring Payments” section if you offer subscriptions.
- Define the billing cycle, amount, and other relevant details.
- Enable automated billing to streamline the process.
5. Publish and Share:
- Once your payment page is ready, click “Publish.”
- Share the URL with your customers via email or social media, or embed it on your website.

What are the Use Cases
Zoho Checkout is versatile and can be utilized in various scenarios, including:
1. E-commerce Stores:
– Facilitate easy checkout for online shoppers.
– Accept payments for products, services, or digital downloads.
2. Subscription-Based Services:
– Automate billing for SaaS products, memberships, or online courses.
– Ensure timely payments with recurring billing features.
3. Non-Profit Organizations:
– Collect donations securely and efficiently.
– Create customized donation pages for fundraising campaigns.
4. Freelancers and Consultants like us:
– Simplify payment collection for freelance projects.
– Offer clients a professional and secure payment experience.
While Zoho Checkout is a robust solution, it’s essential to consider its competitors.
Here are some notable alternatives:
1. Stripe:
– Pros: Highly customizable, global reach, extensive developer tools.
– Cons: It requires coding knowledge for full customization and can be complex for beginners.
2. PayPal:
– Pros: Widely recognized, easy to set up, trusted by customers.
– Cons: Higher transaction fees and limited customization options.
3. Square:
– Pros: User-friendly, integrates well with physical POS systems, comprehensive reporting.
– Cons: Limited international availability, not as feature-rich for online-only businesses.
4. Authorize.Net:
– Pros: Reliable, extensive fraud prevention tools, multiple payment methods.
– Cons: Higher setup and maintenance costs and complex integration process.
5. Shopify buttons
– Pros: Reliable, extensive fraud prevention tools, multiple payment methods.
– Cons: monthly maintenance costs

Share this entry